This article will make a lot more sense if you’ve read Part 1. If you haven’t, then now would be a good time.
You will recall that the BOQ, or Bill-of-Quantities, represents your shopping list. You might not need to actually buy new stuff for everything on the list; perhaps you may be able to transfer some kit from wards that are being closed, but I won’t be covering that here. A BOQ has a number of line items, as you would expect of a shopping list. For historic reasons we call these “Bokkies” – that’s just the kind of mad, off-the-wall kind of chaps that we are in software development. Why do we call them Bokkies? In the database they are stored in a table called BOQEntry, which is often abbreviated to BOQE, hence BOQEs, and ultimately Bokkies. We once wrote some software for an equipping company in Utrecht and there was a data item which I got so used to calling an R.O.U.S. that even now I can’t remember what it’s real name was supposed to be. If you don’t know what an R.O.U.S. is then you really need to watch the Princess Bride. If you don’t know what the Princess Bride is, then I’m afraid it’s too late for you, and blog articles about procurement aren’t going to help.
So, we have a BOQ and several BOQEs. As you will know if you’ve read Part 1, BOQEs start their life expressed in generic terms, like:
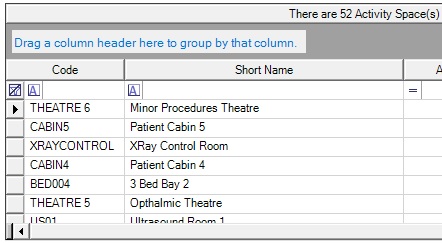
- Theatre 1 – 1 x MON001 Patient Monitor
- Theatre 2 – 1 x MON001 Patient Monitor
- Recovery – 2 x MON001 Patient Monitor
Just to recap:
- Theatre 1, 2 & Recovery are Activity Spaces
- They exist within a Facility
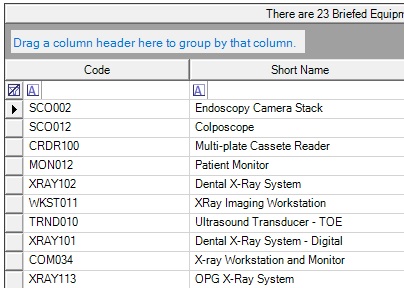
- MON001 Patient Monitor is Briefed Equipment
Procurement is the broad term for the hoops that we need to jump through in order to turn this list of generic requirements into actual, physical devices that we can use. Equipping is the selection of the manufacturer-specific devices, i.e. models, which will meet our needs.
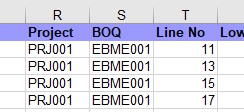
How do we identify a particular BOQE? In the simple example above, how do we differentiate between each item? We can’t use a positional value, or line number, because, if you’re familiar with e-Quip you’ll know that anything in a list can change its position depending on how you sort it. Line 1, when you sort on Briefed Equipment, might become line 500 if you sort on Facility. We need something like a line or item number which never changes, so we can say, “I’m talking about item x (or y, or z)”. We call this the “Ordinal“. We can argue about names forever, but out of briefed equipment, generic specification, activity space, facility, brand, model and category, I suspect we have more to squabble about than “Ordinal“. Perhaps we could argue about cardinal versus ordinal versus nominal, but life’s too short. Let’s just assume from now on that each BOQE has an ordinal which uniquely identifies it. If your brain is hurting, then just call it Line Number and let’s just move on. Ordinal is mandatory, a BOQE must have one.
Very often BOQEs are created by importing from Excel. It is likely that you will have to add a column to your spreadsheet for the Ordinal. You can then get Excel to auto-fill each row with consecutive numbers.
Getting Started – Creating a BOQ
Rather than talking in abstract terms, let’s just go ahead and create some data so that you can start to experiment. There is a sample spreadsheet in the folder C:\Program Files\Integra\e-Quip AM\Samples called TreatmentCentreEBME.xls, which contains a sample brief for the medical devices for a small Treatment Centre. We’ll use that to get us started.
Create a Project
BOQs always exist within a project, which is really just a container for related data. Some information is visible only within a project. Facilities, activity spaces, briefed equipment, BOQs and BOQEs are all project-specific. Some things can be seen across projects, like generic specifications, tenders, quotations, orders and deliveries.
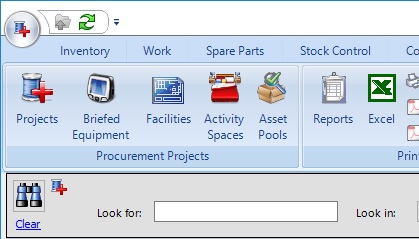
I’ll assume that you know how to navigate within e-Quip, so click on the Projects icon under the Projects tab on the ribbon.
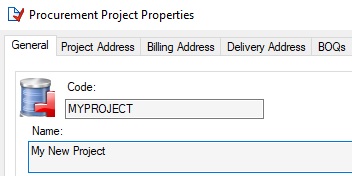
Creating a new project is no different to creating any other record in e-Quip – just press Ctrl + N or right-click and choose “Create New …” from the menu. All you need to add for now is a code and name, but it might be useful to have a look around the screen to see what’s available. I’m going to use the code “MYPROJECT” and call it, “My Test Project”.
Now we have a project, we need a BOQ. The best place to create this is from the project property page on the BOQs tab. There is a button on the bottom of the screen that says, “Create New BOQ“. I chose a code of GRS001 and the name “My BOQ”.

Once you have a BOQ you can close the project property page.
Importing the Data
Have a look at the sample spreadsheet: C:\Program Files\Integra\e-Quip AM\Samples\TreatmentCentreEBME.xls. It’s not particularly exciting, just a list of equipment requirements produced by ADB. There are lots of columns that you can import, like target dates, budget prices, etc., but all we’re interested in for now are the basics for a simple BOQ. You might recall from Part 1 that this is:
- Quantity (New / Transferred)
- Briefed Equipment
- Activity Space
- Facility
In the spreadsheet you should be able to identify the columns for this information:

Nothing complex here:
- Facility Code = Department
- Facility Name = Department Name
- Activity Space Code = Room
- Activity Space Name = Room Name
- Briefed Equipment Code = Equipment
- Briefed Equipment Name = Equipment Description
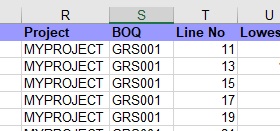
There are two other columns that need to be added/edited. There is already a Line No column which we can use for the Ordinal, so we don’t need to worry about that, but it is possible for a spreadsheet to contain data for multiple BOQs and even for multiple projects. You might, for example, have BOQs for medical devices, furniture, HVAC, electrical plant etc., and all of this could be in the same spreadsheet. When I created the spreadsheet in ADB, I filtered out everything which wasn’t a medical device, so everything in there is destined for BOQ “GRS001” in project “MYPROJECT“. You will have chosen different values.
Have a look for the Project & BOQ columns.
These cells need to contain the codes of the project and BOQ that you have just created. This just involves a few clicks:
Now let’s do the import. Make sure that you save your changes and close the spreadsheet – the Wizard can’t get at the spreadsheet while you have it open. You have probably used the Excel Import Wizard before elsewhere in e-Quip but I’ll step through it just in case you haven’t.
- From the project summary screen, right-click and choose “Get External Data“;
- Click the Next button;
- Click the Select File link and choose the sample spreadsheet that you have just edited;
- Click the Next button;
- Select “Sheet 1” from the list of workbook sheets;
- Click the Next button;
- Click the Next button;
- The Column Mapping screen will then appear.
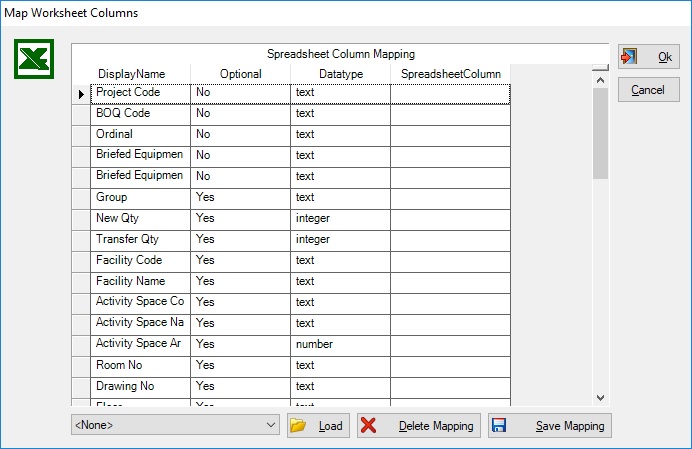
The first column is a list of values that e-Quip can import and the fourth is a list of the columns in your spreadsheet. We know that Project Code will come from the Project spreadsheet column, so select that from the drop-down in column four.
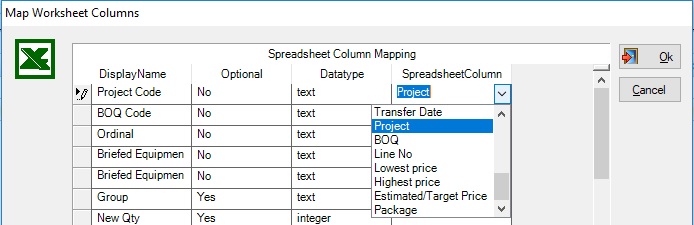
Get the idea?
- Map the remaining columns:
- BOQ Code;
- Ordinal;
- Briefed Equipment Code;
- Briefed Equipment;
- New Qty;
- Facility Code;
- Facility Name;
- Activity Space Code;
- Activity Space Name.
- You can save time for the next time you do this by saving the column mapping. If you want to do this then click “Save Mapping” and enter a name;
- Click Ok on the Column Mapping screen;
- Click the Next button;
- You will then see a preview of the data you are about to import. It should look very similar to the contents of the spreadsheet. Check that you have mapped the columns correctly and then close the preview window;
- Click the Next button;
- You will see a warning, the import will start and a few seconds later it will be complete.
That’s it – we now have some data.
Explore the Data that you have Just Created
Open the project property page for the project that you have just created. Quite a lot will have changed. Look at the Facilities, Activity Spaces and Briefed Equipment tabs.
Now go to the BOQs tab and double-click on the BOQ that you created, then look at the Items tab.
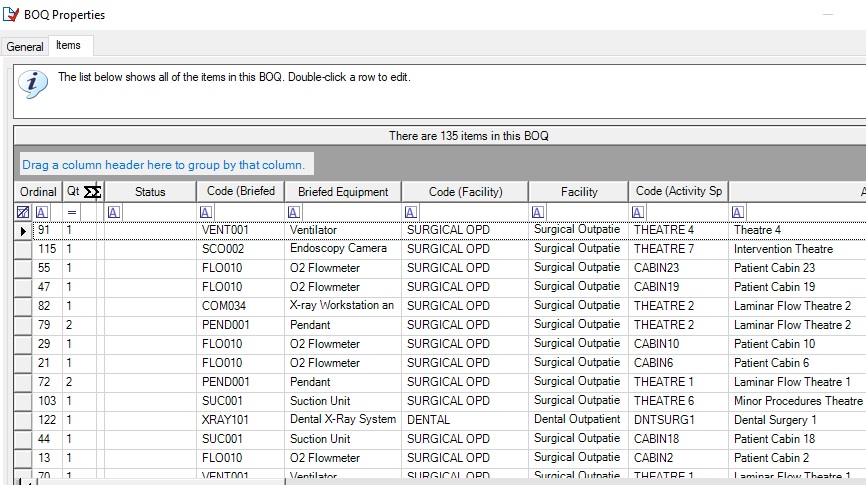
This is basically all of the data the you imported from the spreadsheet, along with a Status column. That column is the key to managing the Procurement process within e-Quip.
Working with BOQs
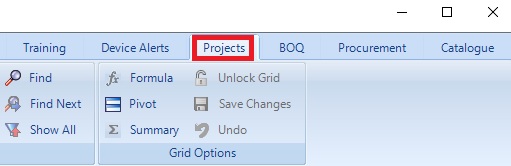
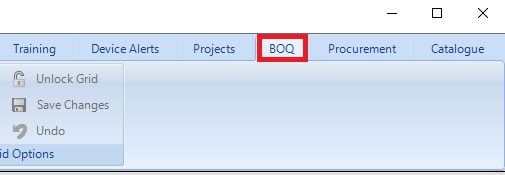
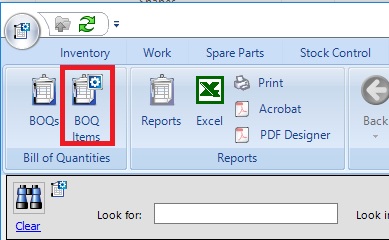
If you just worked through the last example then you will have seen a BOQ in e-Quip from the project property page. That, however, is not the best way to work with BOQs. You can do much more from the BOQ Items screen under the BOQ ribbon tab.
This is the screen that drives and manages the whole Procurement process. As you have only a tiny amount of data it is safe to click “Show all Records“. Remember from Part 1 that this is a journey from generic to specific, moving from left to right across the screen. At the moment you only have generic information so the whole right-hand side of the screen is empty. The object of Procurement is to complete that information.
The most important column on this screen is the Status. This will tell you if something is on a tender, has been ordered, delivered etc. Take a few moments to have a look at the other columns.
Now double-click on any row in the grid to display the BOQE property page.
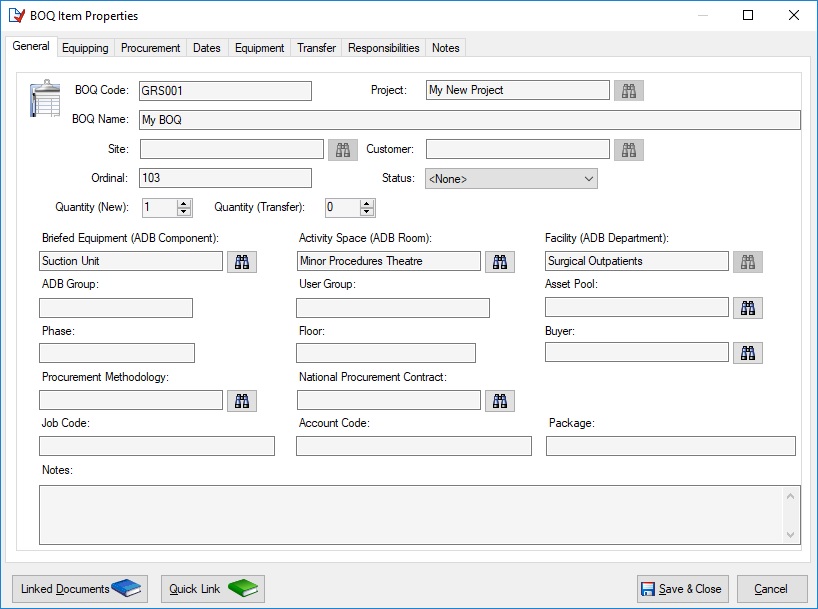
Have a look at each of the tabs to get a feel for the kind of information that you can associate with a BOQE.
This screen includes several utilities, including Bulk Update. We’ll get to grips with some of these in the next article.